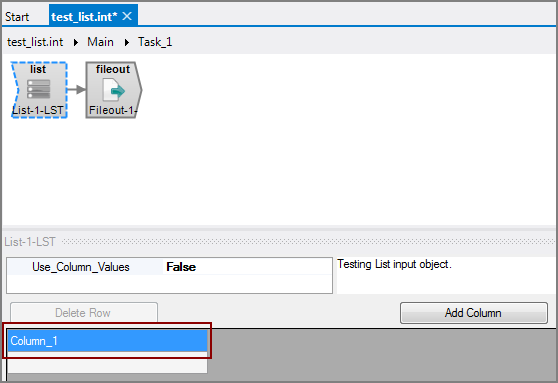
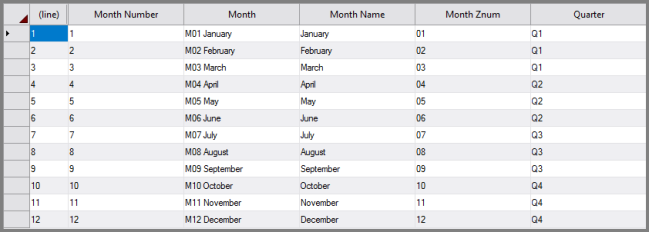
The Visual Integrator (VI) List input object defines an input table within the script itself. The List input object is useful to reduce the number of input files, especially for small lookup tables with static data.
![]()
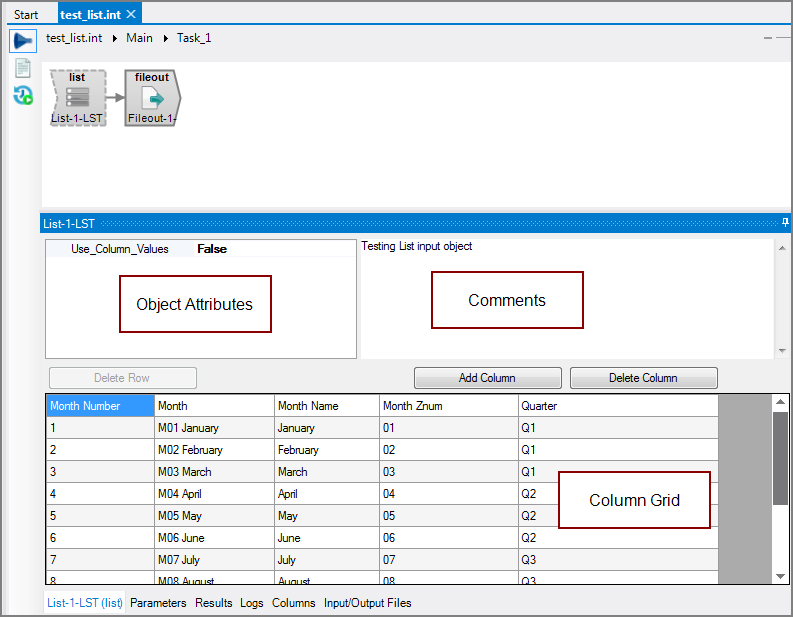
The List input object has ![]() three panes where you set attributes.
three panes where you set attributes.
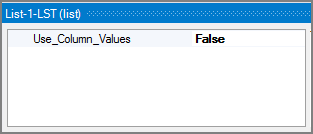
You set attributes for the List object in the ![]() object attributes pane.
object attributes pane.
| Attribute | Description |
|---|---|
|
Use_Column_Values |
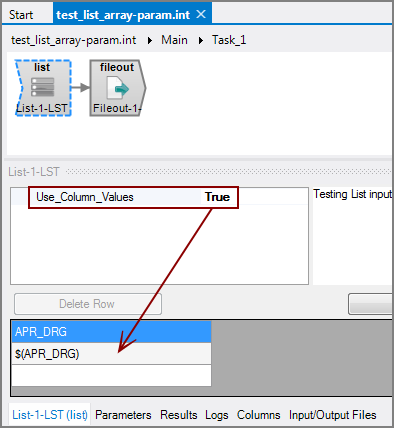
Defines the values for the input table when the input table consists of a single column. Each value in this column represents a different row in the input flow. This attribute is useful in Tunnel situations where an array is passed in for an input flow, or when you want to pass an
NOTE: If you have multiple columns defined in the column grid and change this attribute to true, all but the first column are removed. The Use_Column_Values attribute and the Column Grid values are mutually exclusive—specify one or the other. |
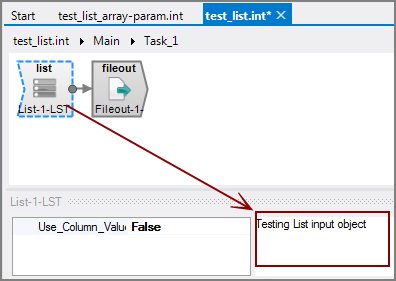
Each object has an area where you can enter comments.
It is a DI best practice to enter a note for every object in a VI script. You can set a VI preference to give a warning for each object without a note.
The List column grid is where you define the input table.
To define your input table:
-
The first row of each column is the column heading. Change the default
 column_1 to a column heading.
 -
Add values in the rows below the column.
-
Click Add Column to add another column.
-
Add values in the rows below the new column.
-
Repeat steps 3–4 to add more columns and values.
-
Save the input table.
